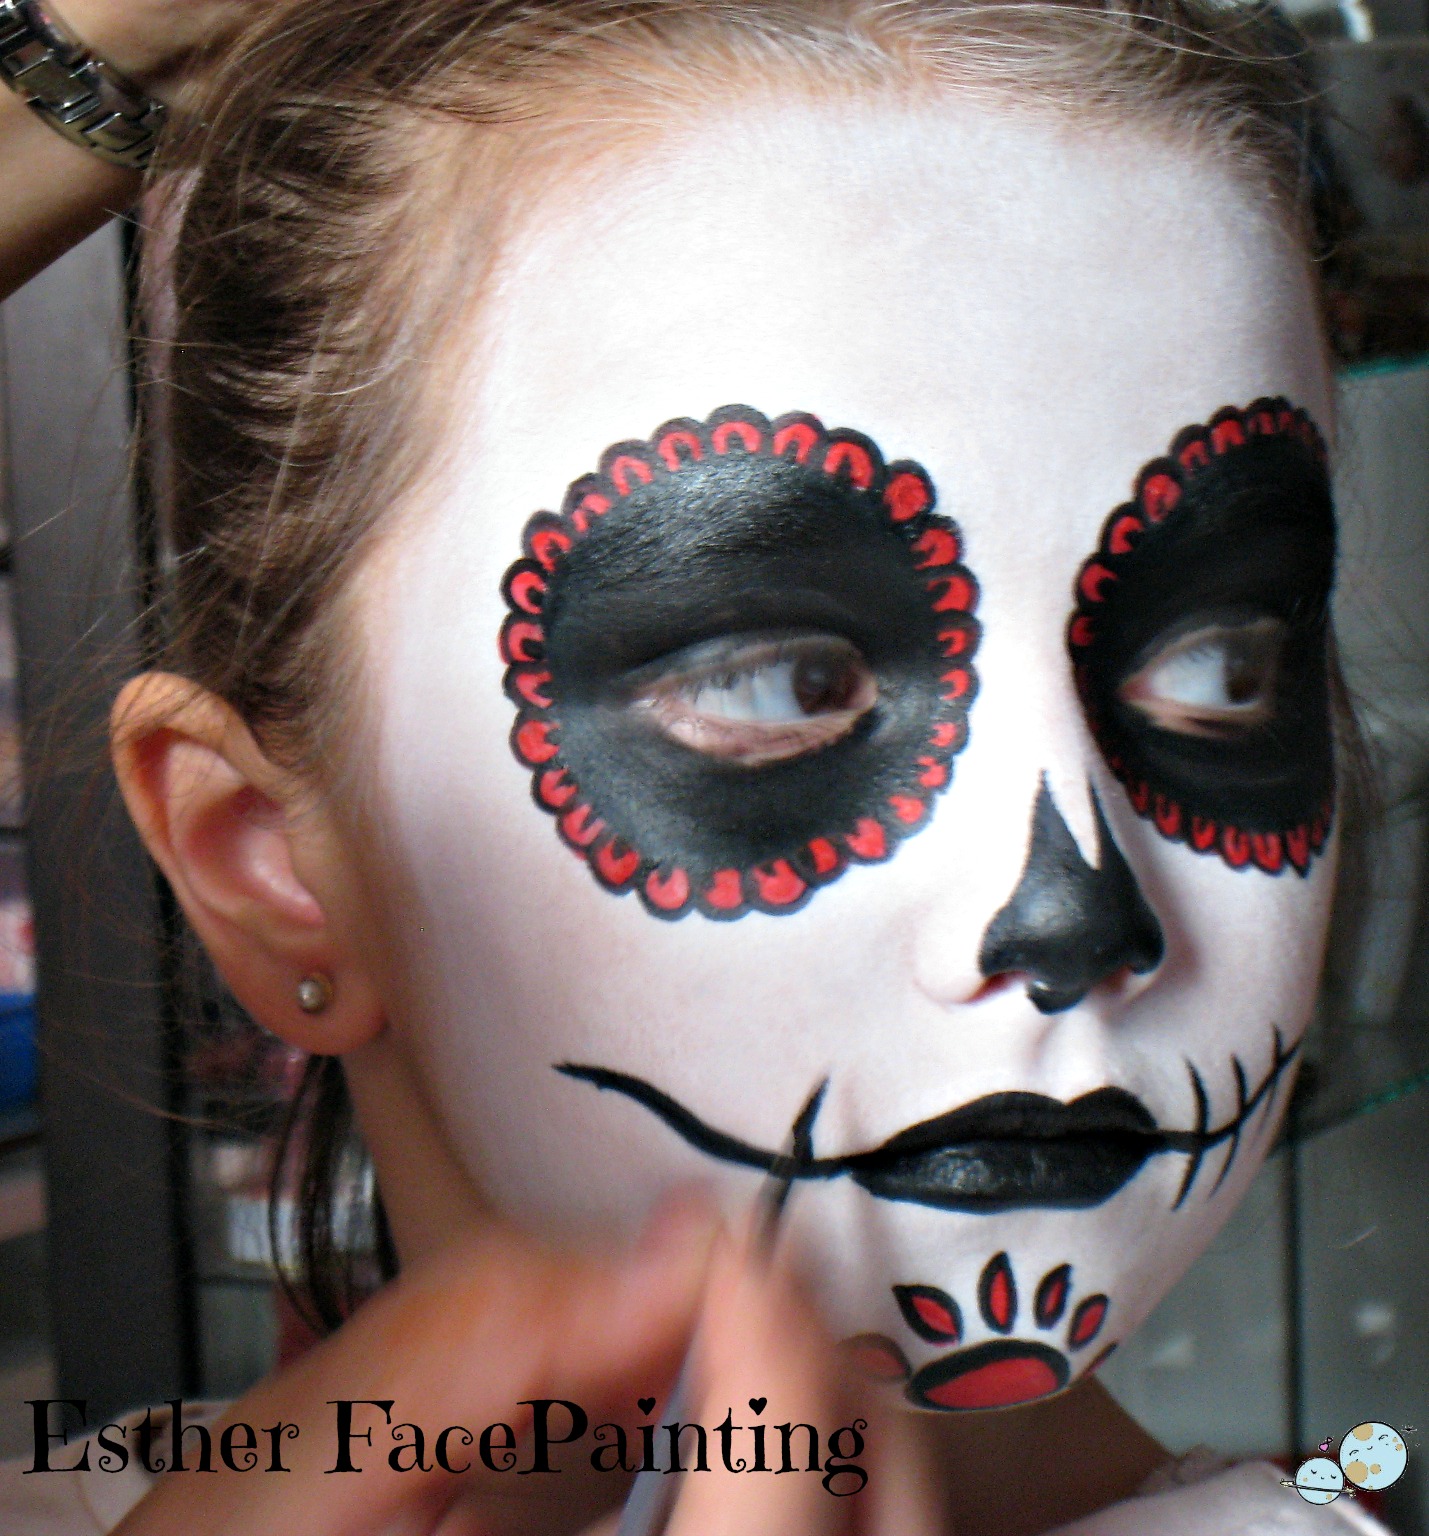
Unleash Your Inner Artist: Halloween Face Painting on a Budget
Halloween, the one night a year where transforming into something extraordinary is practically mandatory. While elaborate costumes and spooky decorations play their part, there's a certain magic in the simple act of face painting that can elevate your festive game without breaking the bank. Forget expensive store-bought costumes, this year, we're embracing creativity and resourcefulness with DIY Halloween face paint!
Imagine this: instead of spending a small fortune on pre-made costumes, you gather a few basic supplies and transform your family into a fearsome pack of werewolves, a gaggle of goofy ghosts, or a terrifying troupe of zombies – all within the comfort of your own home. Sound good? Let's dive into the colorful world of Halloween face painting!
The beauty of Halloween face painting lies in its versatility. Whether you're a seasoned artist or a complete novice, there's a design out there for everyone. From simple and cute designs for kids to intricate and spooky masterpieces for adults, the possibilities are as limitless as your imagination. And the best part? You can easily achieve incredible results with a few basic supplies and a little practice.
Now, you might be thinking, "But isn't face paint expensive?" Not necessarily! While professional-grade kits can set you back a bit, there are plenty of budget-friendly options available at your local craft store or online. Plus, a little goes a long way, making it a cost-effective alternative to pricey costumes, especially when you have multiple faces to paint.
Ready to unleash your inner artist? Let's gather our supplies! You'll need a basic set of non-toxic face paints in a variety of colors, a few brushes in different sizes, some sponges, a cup of water, and a mirror. Optional extras include stencils, glitter, and cosmetic-grade setting spray for extra staying power.
Pros and Cons of DIY Halloween Face Painting
| Advantages | Disadvantages |
|---|---|
| Affordable and cost-effective compared to buying costumes | Can be time-consuming, especially for intricate designs |
| Unleashes creativity and allows for unique, personalized looks | May require some practice to achieve desired results |
| Fun and engaging activity for families and friends | Potential for allergic reactions if using non-hypoallergenic products |
| Easy to remove with soap and water | Can be messy, especially with young children |
Let's transform those hesitant thoughts into confident brushstrokes. Here are five best practices for face-painting success:
1. Patch Test is Key: Before diving into your masterpiece, always perform a patch test on a small area of skin to check for allergic reactions, especially for sensitive skin. Safety first, spooky fun second!
2. Start with a Clean Canvas: Ensure the skin is clean and dry before applying any paint. This helps the paint adhere better and prevents smudging.
3. Less is More: When applying face paint, start with thin layers and build up gradually. Too much paint can crack and become uncomfortable.
4. Blending is Your Friend: Seamless transitions between colors are key to a polished look. Use a damp sponge or brush to blend the edges of different colors for a smoother finish.
5. Patience, Young Padawan: Allow each layer of paint to dry completely before applying the next. This prevents colors from mixing and creates a more vibrant, long-lasting design.
Stuck for inspiration? Here are a few ideas to get those creative juices flowing:
1. Classic Halloween Characters: Vampires, witches, zombies, and skeletons never go out of style. These iconic looks are instantly recognizable and relatively easy to achieve, even for beginners.
2. Animal Instincts: Unleash your inner animal with fierce lion, tiger, or bear designs. These options are perfect for adding a touch of wildness to your Halloween ensemble.
3. Superhero Squad: Channel your favorite superheroes with bold and colorful designs. From Spiderman's iconic mask to Wonder Woman's fierce warrior look, the possibilities are endless.
4. Spooky Skeletons: Create a spine-chilling skeletal illusion with black and white face paint. This classic design is always a hit and can be customized with different colors and details.
5. Day of the Dead Sugar Skulls: Celebrate the Mexican holiday with vibrant and intricate sugar skull designs. These beautiful and symbolic looks are perfect for adding a touch of culture and artistry to your Halloween makeup.
Frequently Asked Questions:
1. What kind of paint is safe for faces? Always use non-toxic, hypoallergenic face paint specifically designed for use on skin. Avoid using acrylic or oil-based paints, as these are not meant for skin contact and can cause irritation.
2. How do I remove face paint? Most face paints can be easily removed with soap and water. For stubborn stains, use a gentle makeup remover or baby oil.
3. Can I use face paint on children? Yes, but always perform a patch test first to check for allergies. Use gentle, hypoallergenic paints specifically designed for sensitive skin.
So there you have it – a crash course in mastering the art of DIY Halloween face painting. It's a fun, affordable, and creative way to embrace the spirit of Halloween without breaking the bank. This Halloween, ditch the pricey costumes and unleash your inner artist! Gather your supplies, put on your creative cap, and prepare to wow your friends and family with your newfound face-painting prowess. Remember, the most important ingredient is to have fun and let your imagination run wild!
Unearthing the urban tapestry how to find a deed online nyc
Finding confidence your guide to mens brazilian laser hair removal
The chilling impact of the tokyo ghoul i am a ghoul panel


